Jun 15, 2011

My Very First Quilt or The Great Thing About Rainy Weather

It's been rainy and miserable here for most of the week, so as a result the girls and I have been stuck inside.  Even though we're all suffering from a particularly nasty strain of cabin fever, it's been good in a sense that we've been able to hang out and do some crafty things together.

I was inspired recently to give quilting a go, and I thought I would ease myself in with a little quilt for one of Katherine's dollies (which Katherine has named "Katherine Ann Elspeth" funnily enough).  Katherine loved helping me with this - which was great, as it was really a good excuse to get her involved after spending the last few days as MIA Mummy while I tried to complete my niece's birthday projects.  Katherine raided my scrap bin for some pretty fabrics we could piece together for the quilt.  I cut out a bunch of little squares and rectangles, then Katherine helped me do the "special puzzle" to try and fit all the bits together.  It took us a while as we didn't work to a pattern, we just kind of pieced it together to try and get all the parts to fit, and make sure that the colours all went together too.  This was the trickiest part!


Our 'special puzzle'

I was worried about sewing all the layers together as I don't have a walking foot, and the only other attempt at quilting anything - a pot holder of all things - ended disastrously. If you're the kind of person who thinks that wrinkled fabric is a disaster, which obviously, I am. I pinned the hell out of the quilt (couldn't be bothered basting), and set my presser foot to the lowest pressure, and everything went pretty smoothly.


I intended to use the backing to bind the quilt but there wasn't as much backing as I thought once I'd quilted it, so I had to make a bunch of bias binding, and use that instead.


Anyway, it's very rough - all cut by hand, and totally not square - the only time I pulled out a ruler or marker was to make the bias binding - but dolly has a quilt!


The other thing I finished today was this cute little bag to go with my niece's birthday dress. I am really happy with how this has turned out, as I really just made it up as I went along. Katherine has already put in an order for one of her own. Might have to get her back into that scrap bin again...


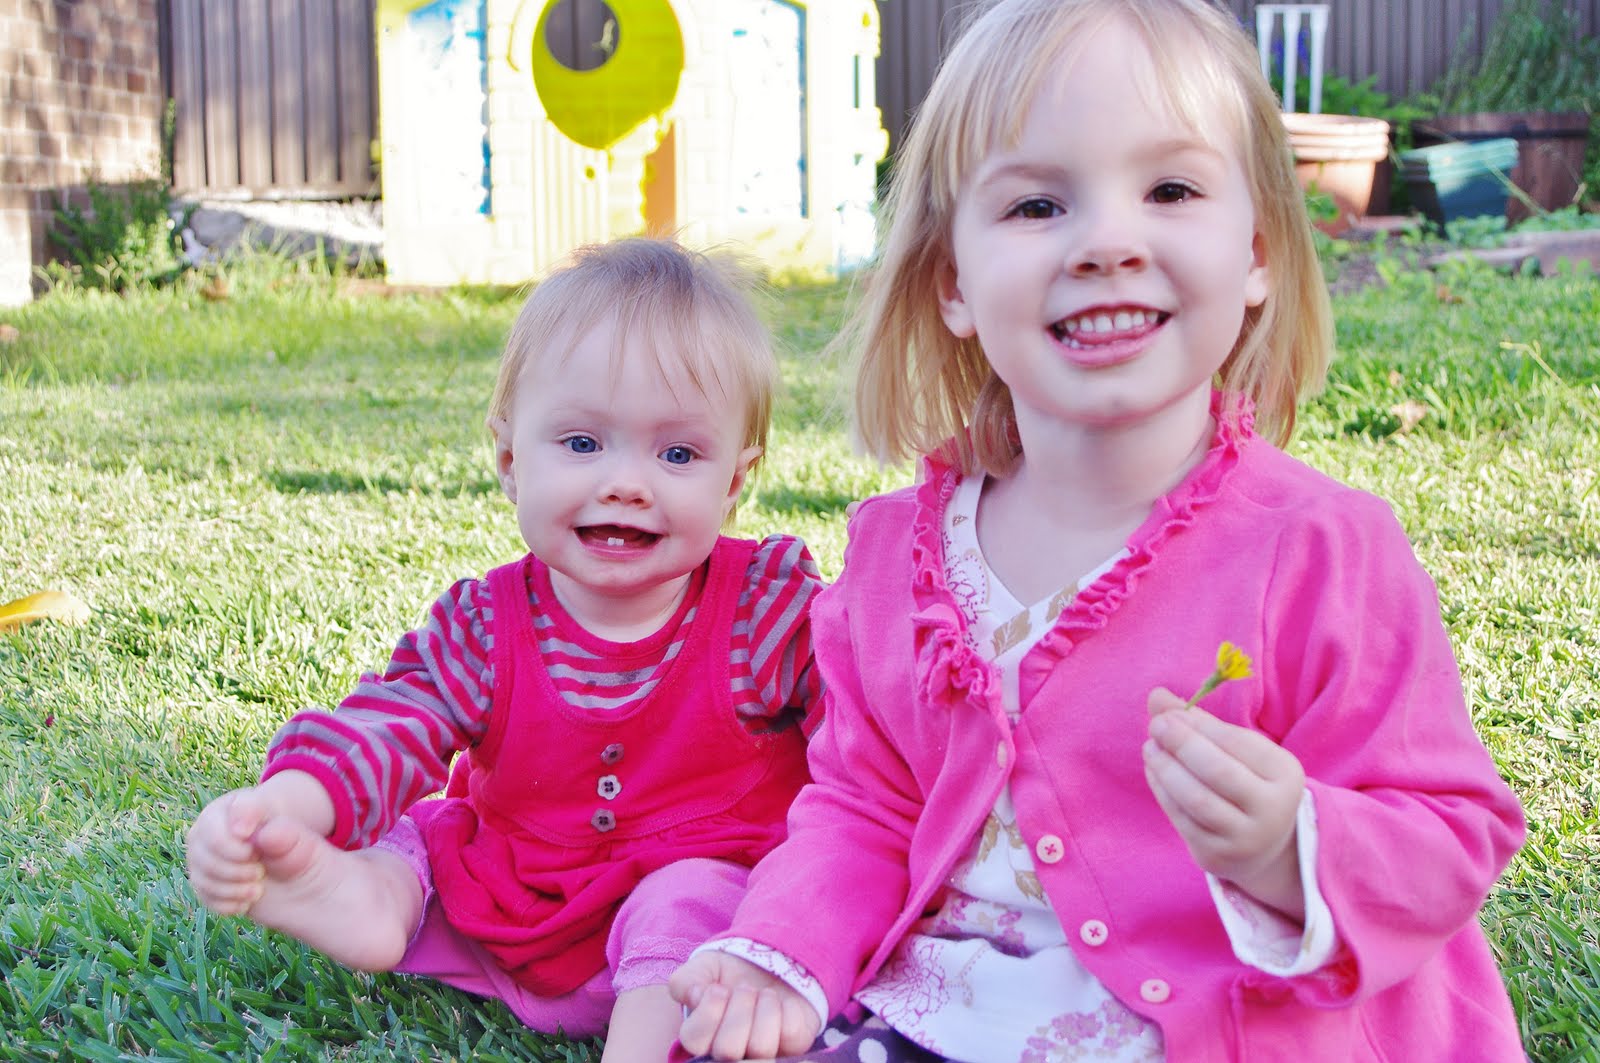
Yes, she's in her PJs... it was raining and miserable, the perfect excuse to wear them all day!


Katherine did her own craft today too - these cute little fairy fridge magnets. I picked them up a while ago in one of those boxed activity sets from Lincraft, and had them stashed away for one of those days when colouring in and play-dough just won't do. Today was that day!  She had great fun mixing up the plaster, pouring the moulds, painting them and sticking little magnets on the back. Mummy helped, of course.


Jun 13, 2011

Did I forget to mention...

I held off blogging this outfit as it was a gift for my niece, and I didn't want to spoil the surprise.  I only just realised when I posted the other day that I still hadn't put it up.  Since her birthday was back in April, I think it's probably safe to do so now!

The top is the Oliver + S Hopscotch Top, only I added extra length to make it more of a tunic style top.  The pants were these jeggings.  I made a pair for Katherine earlier in the year and thought they were super cute.


The fur vest was the Peikko fur vest from Ottobre 6/2009.  I had to size this up a bit as it only goes up to a 92cm, which is the size I made for Katherine, who is 3.  My niece was turning 6 and is quite tall and thin, so I mainly added in some length and some room around the arms/shoulders.


I decided it still needed something to pull it all together, so I crocheted this cute little beanie, and put a little decorative flower on it to girly it up a bit.


All in all, I was really happy with this outfit and think it will suit my niece to a tee!  I haven't seen her wear it yet, but I've been told that it (mostly) all fits!  I think she'll look very grown up and trendy wearing it.  I hope she likes it too.

Jun 12, 2011

Birthday Dresses

It's been a while since I have blogged - partly because I've been super busy, and partly because I haven't been doing anything worth blogging about.  I had a break from sewing for a while, and then found that I just couldn't get back into it.  But I'm pleased to say that this week I made two dresses!  One for my niece Emilia, who is turning 4 in a couple of weeks, and one for Ellie, who is 1 on Wednesday.

I used the Oliver + S Jumprope dress pattern for both (since having some success with one for Katherine earlier this year), and I'm pretty happy with how they turned out.

Emilia's was made out of some pink polka dot fabric I purchased at Lincraft. I'm not totally happy with the fabric choice. It's very plain, and I'm not sure that's a good thing. But overall it's a cute dress, and I hope she likes it. She's a tiny thing, so I used the size 3 and just added in a bit of extra room here and there.


I wasn't going to make a dress for Ellie, but I found that I just couldn't help myself.


I've had this Pachyderm Parade fabric by Robert Kaufman for a while now and kept thinking that I would use it for Ellie. The problem was I only had 1/2 a yard so had pretty much resigned myself to making a skirt for her in the Spring. But then I got to thinking, maybe I could use a contrast fabric trim, like with the polka dot dress, and I might just, just have enough for a little Jumprope dress for her as well. I used some Riley Blake Red Quite Contrary Dots for the trim at the bottom of the dress, as well as the sash and the sleeve tabs. I only had a fat quarter of this fabric! The collar, placket, cuffs and belt loops were made out of some white scraps I found in my scrap bin! I am very happy with this dress, and quite proud of myself that I managed to piece it together with what little fabric I had on hand.  Now if only Ellie would get up and walk so I could dress her in this without fear of her tripping on it!


Apr 12, 2011

Something different

I decided to take a break from kids clothes and do something different today.

I'd bought some cupcake print fabric a while back and had planned to make an apron out of it, but that was before I got caught up making clothes for Katherine. But as I said, I felt like doing something different today.

I didn't have a pattern, but I had a basic idea in my head of how I wanted it to look.  The finished product was definitely more kitschy looking than I had envisioned, but I think that's part of it's charm.


Now, just point me towards the kitchen!  I feel a baking frenzy coming on...

Apr 10, 2011

A frilling afternoon...

I'm really happy with the way Katherine's winter wardrobe is coming together, but I am a little concerned that some of the colours might be a little bit boring for a 3-year-old who adores everything pink. Last week I tried to inject some colour into the mix with the watermelon cardi and stripe-sleeve tops. But I had a niggling feeling that there was something else missing... of course, skirts!

I really only had the Oliver + S hopscotch skirt on my 'to do' list. I decided to put together a couple of ruffle skirts - I thought these would be good as the ruffles would add bulk and help keep those little legs warm. Add tights and boots, I thought, and she will be cozy all Winter. They are also so easy to make! I knew that I wouldn't even need a pattern.

I followed this fantastic tutorial for the bottom half of the skirt. It's for a size 5-6 but I knew from experience - I've made two or three of these in the past - how to scale down the measurements to suit Katherine. I decided to do something different for the top half of the skirt though, so I cut into my never-ending (it would seem) piece of chocolate corduroy.  I decided to put some cute little pockets on the front, and a mock fly.  I added elastic at the back only.

This was the finished product:


Until I decided that my finished product was a little 'unfinished'.  I really felt like it needed another ruffle underneath there somewhere.  So this morning I fetched it out of the laundry basket and got back to work.  Two ruffles are much better, see?


And then of course it needed a belt.  Now it is complete (and very cute, if I do say so myself)!

Please excuse the state of my floors - I was sewing today 
when I should have been doing the vacuuming! 

Apr 7, 2011

Hop to it

I've been busy this week, sewing up some more of my SWAP items.  After a day or so of indecision about whether to stick with my original plan, I attacked it with renewed vigor.  This week I've made two cardigans and three more tops.  

I thought it was time to inject a bit of colour into Katherine's wardrobe as I felt I'd been over-doing it with all the brown. Today we ventured out into the backyard for a bit of a photo shoot to kind of 'take stock' of what we had come up with so far.  I am really happy with the way some of the outfits are coming together and I can't wait until I've got everything finished now!


This is the 'Watermelon' jacket from Ottobre 01/2011.  I originally made it in the brown and didn't love it, so I made a watermelon one (funnily enough) only this time I got rid of the awful trim - I just couldn't get it to look nice - and replaced it with a ruffle trim and a little rosette on the neckline.  I think it looks really sweet like this!  Katherine liked it too.  When she saw the finished product she exclaimed "Mummy, I want to wear this all day long!"  


I also had to scale the original pattern down as best I could, as it was 2 sizes too big.  I think this is such a cute and easy, basic cardigan though and it's good to know I can make it in all the bigger sizes as the girls grow.

The tops I made this week were all Oliver + S Hopscotch tops.  I re-made the original cream coloured one in a bigger size, and two more with striped sleeves.  I am addicted to these tops!  Seriously.  I can put one together in less than an hour.  

I like the way this one matches the cargos.


This one looks great with the red/pink hopscotch skirt...


...and the brown cardi.


I wish I could take credit for Ellie's sweet little dress, but it's Pumpkin Patch (and a hand-me-down from her big sis!)

Mar 31, 2011

See my vest, see my vest...

(Sorry, I couldn't resist!)

I've managed to finish off a couple of projects this week.  The first was this dress that I've had cut out for a while.  It looked like it was going to be pretty easy - and I guess it would have been if I hadn't have kept making silly little mistakes.  This was Simplicity pattern ("easy to sew" they boast on the front!) 2270.  I don't know what was going on the day I sewed this - I started with sewing the pockets on upside down and it all went downhill from there really.

The finished product is nice but I think it looked better in my head.


I changed the front from a gathered neckline and put a box pleat in instead as I wanted it to have a bit more of a retro look.  The armholes are finished with bias binding but I think if I was to make this again I would line the whole dress instead, especially for cool weather.  But this will be ok I think - it looks good on its own or with a skivvy under it so it'll do.  Plus I also have a cardigan and a coat to make yet, both which are going to match with this dress.


I really wanted the dress to have a flower on it but wanted to do something other than the usual yo-yos I put on everything.  I found this tutorial for tea cup flowers and thought one of these would be perfect!  I made mine with 5 petals though, and added a self covered button for the centre.

The fabric was Riley Blake Pink Cowboy Plaid from their "Wanna Be A Cowboy 2" range.  The brown is Brown Cowboy Dots from the same range.  I bought a few fabrics from this range actually - I love them!

The second project this week was the Peikko Vest from Ottobre Design 06/2009.  I think this vest is the cutest!  I want to make one for myself.


This was made with some faux fur from Spotlight, and lined with some stretch suede fabric.  Have I mentioned how cute it is?

I'd never sewn with fur before and was a bit worried that I (or my machine) might not be up to it.  But it was really easy to put together.  One thing I found really useful was making sure I had a comb on stand-by and combing all my seams as I sewed them.  I didn't have a walking foot but I used lots of pins and just took it slowly.

One other, very important piece of advice - don't wear black if you're sewing with white fur!


I just had to share this cute pic of Ellie.  She is growing so big now!