Showing posts with label Tops. Show all posts

Oct 12, 2012

Summer Shirt

I have to confess I actually made this top on the weekend before the KCWC started, but there has been a complete lack of sewing the last couple of days and I thought I had better post something. I know there's quite a few people who started early, so maybe it's not such a stretch to include this top in my KCWC projects...?


For this top I took a pattern from one of Katherine's existing tops, and gave it slightly flared sleeves. I followed the Modified 2+2 tutorial over at Siestas and Sewing to create the yoke. The fabric is just some cotton gingham I picked up from Spotlight. I wanted something nice and light for Summer that would still cover her arms as she is so fair. We are moving to Far North Queensland before the end of the year and it gets so hot up there!


After making the top I decided it needed "something" so I added some yellow buttons around the front yoke.      I think it was just enough embellishment for this simple top.


Because the top is quite loose, I added a tie so that it could be pulled in a bit at the sides.  

I think this top will be perfect for the hot summer sun!  If I get some time this weekend I have a pink version cut out and ready to sew up as well.  

Sep 28, 2012

Shorts Stories

I've been seeing floral printed denim everywhere lately, and while I wouldn't wear it myself - I'm too old for that, right? - I thought I might make the girls some new shorts for summer.  This sort of thing was my inspiration. 
Floral shorts $32.99 from Pumpkin Patch

I found some floral denim at Spotlight.  It was about $6 for 1/2 a metre but that was all I needed to make these shorts - plus I still have some left over.  

I didn't have a pattern so I used a pair of shorts from last year that still fit around the waist but are a bit short in the leg.  I just traced around them to make a pattern, and then took some measurements from Katherine to make sure I was on the right track. 


I decided to make a flat front with an elastic casing in the back.  I put some pockets on the front as well, but not on the back.  The ones on the back are just for decoration anyway, right?  I deliberated over putting a yoke in the back, but in the end I left it out and just ran the seam all the way up to the waistband.  Katherine has no bottom anyway, so it sits fine the way it is.


I put a zip in the front, although I shouldn't have bothered.  She doesn't have hips, so she can get them on and off without undoing the button anyway, because of the elastic.  It was just more busy work that I didn't really need.  And there was plenty of busy work with these!   So much unpicking!  I unpicked until my hands cramped up.  I finished them late at night and then the next morning when Katherine tried them on - I already knew they were going to be far too big - they were massive on her.  So I unpicked the waistband stitching.  I unpicked the elastic stitched in at the sides to shorten that.  I unpicked the topstitching down the sides of the legs, and then I had to bring in the sides a good inch or so on each side, and stitch the whole thing back together.  

Oh noes, my child is way cooler than I am!  

I'm still not happy with the fit.  They look ok, but not fantastic.  


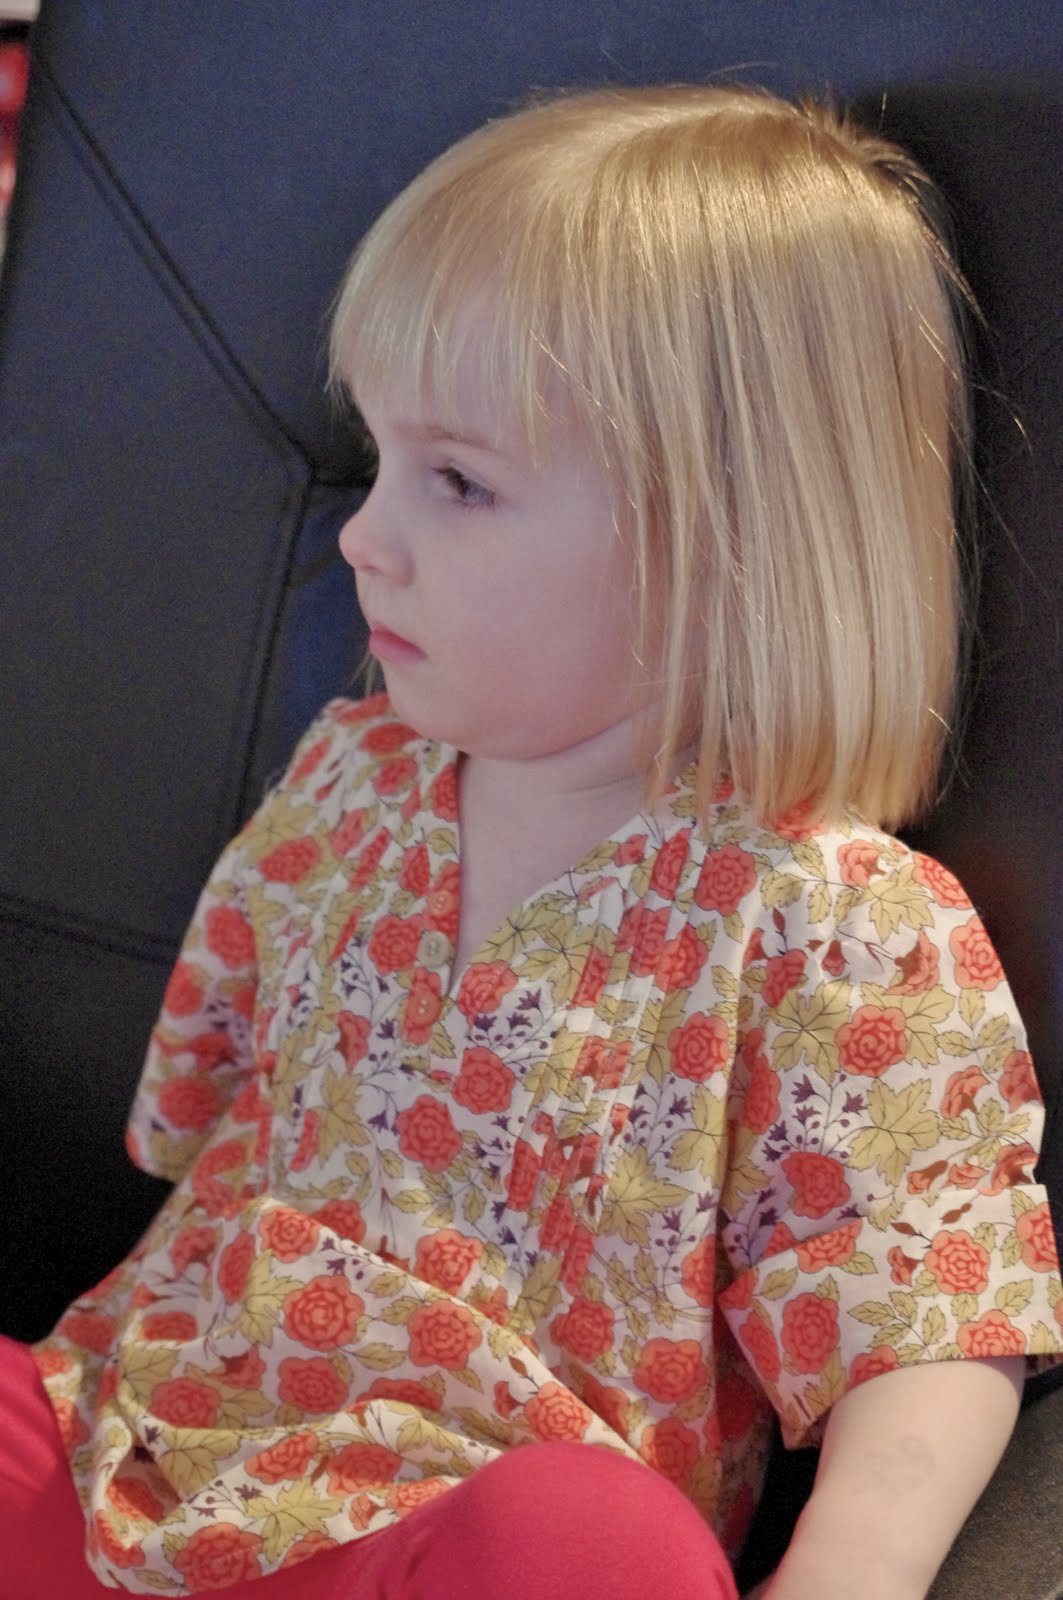
The shirt is McCalls M6156, which was another late night project.  Hubby has been working nights, so there's been plenty of late night sewing going on!  I have already made this once before, but this time I really wanted to do it with pintucks.  The pintucks didn't show up very well on the gingham so I ended up getting a little bit creative and making a wave pattern with them by running a stitch across them in opposite directions. I love the way this turned out!


Katherine seems to like the outfit too.  I can always tell by the way she poses for photos.  She's so much more enthusiastic about being photographed when she is wearing something she likes! 


I played around with the shorts pattern a bit and decided to make another pair.  This pair I made out of  some cherry print fabric - it is a stretch sateen that I bought to make one of my Nanna's vintage dresses with (I've made the dress by the way, and worn it!  I will get around to blogging it once I find someone to take a decent photo of me in it!).  I had some scraps left over - just enough to make a pair of shorts.  The fit on these is so much better.  There is still room to grow a bit in them though, which is good.


I left the zip off this pair and did a mock fly instead.  So much easier!  I even fooled Katherine - I caught her trying to undo the button (which is firmly stitched on).  Haha, gotcha!


I took them in at the top but left them sort of flared around the leg.  Plus I had a bit more length to work with, so I just did a rolled cuff on these ones.  The denim ones had a separate cuff attached because I was worried about the length.  


They sit nicer at the back too, I think, because there isn't so much bulk cinched in at the top.  So happy with these - I might make a few more pairs yet!  

Sep 17, 2012

Puppet show: The encore performance

In my quest to put together a few little outfits for Katherine's summer wardrobe, I pulled out the Oliver + S Puppet show shorts pattern again. This pair I made out of some chambray scraps I had leftover from this dress I made earlier in the year. I paired them with a top from a Japanese pattern book I bought a while ago (from this Etsy seller, if anyone is interested). It was my first attempt at a project from this book, and went better than I expected, really, considering I can't read a word of Japanese!


The fabric I used for the top is from the Out to Sea range and originally I had it in mind for a little collared shirt from the same pattern book, but I just didn't have enough (even if I was to cut it slightly off-grain... which I wouldn't have... but well, I did check!  I really wanted to make that shirt!)

Instead I settled for this one with a pretty yoke and flutter sleeves.  It is actually a dress but I shortened it to turn it into a tunic-length top.  The original pattern also seemed very full in the bodice so I took an inch or two of the fullness out, and there is still plenty of room for my skinny minnie.  She's looking particularly gaunt here as she's just got over a bout of gastro.  I swear, I really do feed my children!


I wanted to add piping under the yoke but had run out of piping cord, so I stitched a piece of ribbon into the seam there instead, and added a little matching ribbon bow to pretty it up a bit too.


I put a button closure on the back as I was worried about room for her head.  The original pattern was just a pop-over style, which I couldn't see working.  Maybe it was supposed to be made out of knit - if only I could read Japanese!  I had a quick look at the step-by-step diagrams and then went ahead and assembled it in a very similar fashion to the Oliver + S Icecream dress.  It's not how it was done in the book, but to me it made the most sense to do it that way.


I used leftovers for the pocket trim and leg binding on the shorts, as I didn't have enough chambray to go around.  This is one thrifty pair of shorts!  I won't tell you how I pieced the waistband together... notice there are no shots of it.  Hmm...


She's almost set for summer.

Sep 9, 2012

Nautical but nice

I've been eyeing the Sail away school dress tute off for a while, and last night I finally sat down with my just-arrived Sarah Jane Out to Sea fabric and got to work!


I didn't have any old shirts to upcycle, so I made my own shirt - using the same basic method of cutting around a tee.  I just made sure to add an extra couple of inches to the center of the front panels so that I could make a placket there.

She told me she was doing some sort of pirate dance here!  
Apparently the striped shirt is a "pirate shirt."
I also did a couple of little things differently.  I added some darts at the back of the shirt as little miss has her mother's sway back (poor thing, welcome to a lifetime of ill-fitting shirts!), and I attached the shirt bindings and skirt waistband a little differently to give a neater finish as I wasn't keen on the exposed seams.


The buttons on the skirt are some cute little metallic shank buttons that I was recently given from my Grandma's stash.  I remember fossicking through Grandma's button tin when I was my girls age.  I love that I can use these on their clothes now.

Sep 2, 2012

Time for a Puppet Show

Have I mentioned how much I love Oliver + S patterns?  I was so happy when they re-released a bunch of their discontinued patterns as PDFs.  I bought the Puppet show tunic/dress and shorts pattern, mainly for the shorts as I'd seen so many cute versions online.  With the warm weather coming up (any time now...) I finally had a reason to give this pattern a go, and as I've resolved to make more outfits and sets, I thought that I'd give the tunic a go as well.


Katherine chose some seersucker fabric from my fabric cupboard (we got it from Spotlight).  I actually had this fabric in mind for a less fussy summer shirt but 4 year old's can't be reasoned with, haha.  For the shorts I used what I think is a poly-cotton blend drill fabric, from my Nanna's stash that I recently raided on a trip to my mum's house!  This set is a 3T.  I thought about using the 4T length for the tunic but I was happy for it to be a shorter-length top rather than a tunic length for this time.


As with all Oliver + S patterns, it's the little details that really make them special.  I love these little sleeve cuffs on this top.  I didn't make a buttonhole with these like you are supposed to though, I just stitched the button straight on.  I used fabric covered buttons I made up in the same fabric as the top.

You can see on the shorts photo up top that I also trimmed the pockets with some piping and popped some fabric covered buttons on there as well.


The pattern didn't call for buttons at the front, but I thought some fabric covered buttons would be a nice touch here too.  The edges of the collar look puckered here, but honestly, they aren't (I had a panic and checked them after seeing this photo!).  I think it's just the texture of the fabric that makes them look a bit wrinkly on the edges.


To top it all off, I made a little twisted fabric flower hair clip out of some scraps.  I think this is a really cute little set and I can't wait until it's warm enough to be worn!

Jun 17, 2012

When good tutes go bad...


I'm almost ashamed to admit that this project was actually supposed to end up like the top in this gorgeous tute here, only in miniature.  I had some lovely purple paisley lawn and really wanted to make it into something floaty and gorgeous for Katherine.

So what went wrong?  Well, despite my daughter's disproportionately small head, it seems that it is still bigger than an adult head in relation to her body and hence I couldn't actually get the neck hole of the finished top over her head.  No biggie.  I cut a little snip in the back, added a bit of a facing there, and put a little button closure in.  The next issue was that the top came up far too short on her body.  See the seamline where the elastic is sitting, just above her hips.  That's where Version 1.0 ended.  Luckily I had some fabric left over, so I made a tube and attached it to the bottom of the top, and then just because I could, I made an elastic casing within the seam allowance to pull it in tighter across her hips.  Of course, then the sleeves looked a bit funny, ending halfway down the top, so I kind of tapered them in to where the waistline was instead. 


So there you have it.  It's not perfect, but I think it's still pretty cute, and Katherine doesn't seem to mind it either. 

Oh, and see those baggy jeans?  They're shop-bought of course, but yes they're supposed to be skinny jeans.  She needed this size for the length but they absolutely swim on her!  Tall and lean - she certainly doesn't get it from me!

Sep 27, 2011

Baby, you're tops!

I just wanted to share my latest knock-off, I love this one.

This is a singlet top from Pumpkin Patch (ok, they're not the only children's clothing store on the planet, but I can't get enough of their stuff!). As soon as I saw it, I thought of some scraps I had lying around from this dress I made last Christmas for my niece. She's the one at the front on the left.


I didn't have a pattern, but I thought it looked simple enough to tackle without one.  I cut a front and back piece, making them much wider than what I needed so I could gather the top in with pleats.  I also made up a bunch of bias strips for the edges and straps.  I knew I wanted about half a dozen pleats, but I didn't care about the size of them - I figured I would just pinch them in until the bodice was the width I needed.  I wasn't sure what to do about the back - I knew it wouldn't fit over Katherine's head the way it was, and I briefly thought about putting an elastic casing in but in the end I decided to cut it right down the middle and put buttons right down the back.  I sewed it up, attached the bias strips and popped a couple of buttons on the front.  Here it is:


Closer view of the pleats at the front.


And buttons down the back.  I'm not sure if it will be too broad across the back yet - I'll have to try it on Katherine when she gets home - it's day care day today.


While I had the camera out, I thought I may as well take a picture of these pintuck tunics I made recently.  I had never sewn pintucks before and decided to teach myself, with some help from Google!

A blue one.


And one in gorgeous Japanese lawn that I picked up on special from Spotlight.


Bonus - I managed to get shots of them being modelled!


Apr 7, 2011

Hop to it

I've been busy this week, sewing up some more of my SWAP items.  After a day or so of indecision about whether to stick with my original plan, I attacked it with renewed vigor.  This week I've made two cardigans and three more tops.  

I thought it was time to inject a bit of colour into Katherine's wardrobe as I felt I'd been over-doing it with all the brown. Today we ventured out into the backyard for a bit of a photo shoot to kind of 'take stock' of what we had come up with so far.  I am really happy with the way some of the outfits are coming together and I can't wait until I've got everything finished now!


This is the 'Watermelon' jacket from Ottobre 01/2011.  I originally made it in the brown and didn't love it, so I made a watermelon one (funnily enough) only this time I got rid of the awful trim - I just couldn't get it to look nice - and replaced it with a ruffle trim and a little rosette on the neckline.  I think it looks really sweet like this!  Katherine liked it too.  When she saw the finished product she exclaimed "Mummy, I want to wear this all day long!"  


I also had to scale the original pattern down as best I could, as it was 2 sizes too big.  I think this is such a cute and easy, basic cardigan though and it's good to know I can make it in all the bigger sizes as the girls grow.

The tops I made this week were all Oliver + S Hopscotch tops.  I re-made the original cream coloured one in a bigger size, and two more with striped sleeves.  I am addicted to these tops!  Seriously.  I can put one together in less than an hour.  

I like the way this one matches the cargos.


This one looks great with the red/pink hopscotch skirt...


...and the brown cardi.


I wish I could take credit for Ellie's sweet little dress, but it's Pumpkin Patch (and a hand-me-down from her big sis!)

Mar 8, 2011

A few things

It's been a while since I've posted but there's been plenty going on.  I was sick with some kind of gastro or flu type bug last week - the girls both had it, and now Daddy has it too.  I still managed to do a bit of sewing though, and today the weather was absolutely perfect so the girls and I headed outside for a picnic in the backyard while we let Daddy sleep.


We made these Vanilla Satins this morning.  Katherine was very excited about being in the kitchen again (she nagged me to do baking with her the whole time I was sick!).


I love the retro print on this dress, and Katherine looks so cute in it.


I tried to get some photos of the other outfit I made... I don't know if she was bored of me taking photos, or whether it was the fact that she was now loaded with sugar, but she just would not sit still!

This is a smocked top - a McCalls pattern - and some jeggings.  I love how the jeggings turned out!  The top, I'm not sold on.  Felt like it was lots of stuffing around for a fairly average end result, but maybe I was just overwhelmed by it because I was sick at the time I sewed it.


Picking flowers.


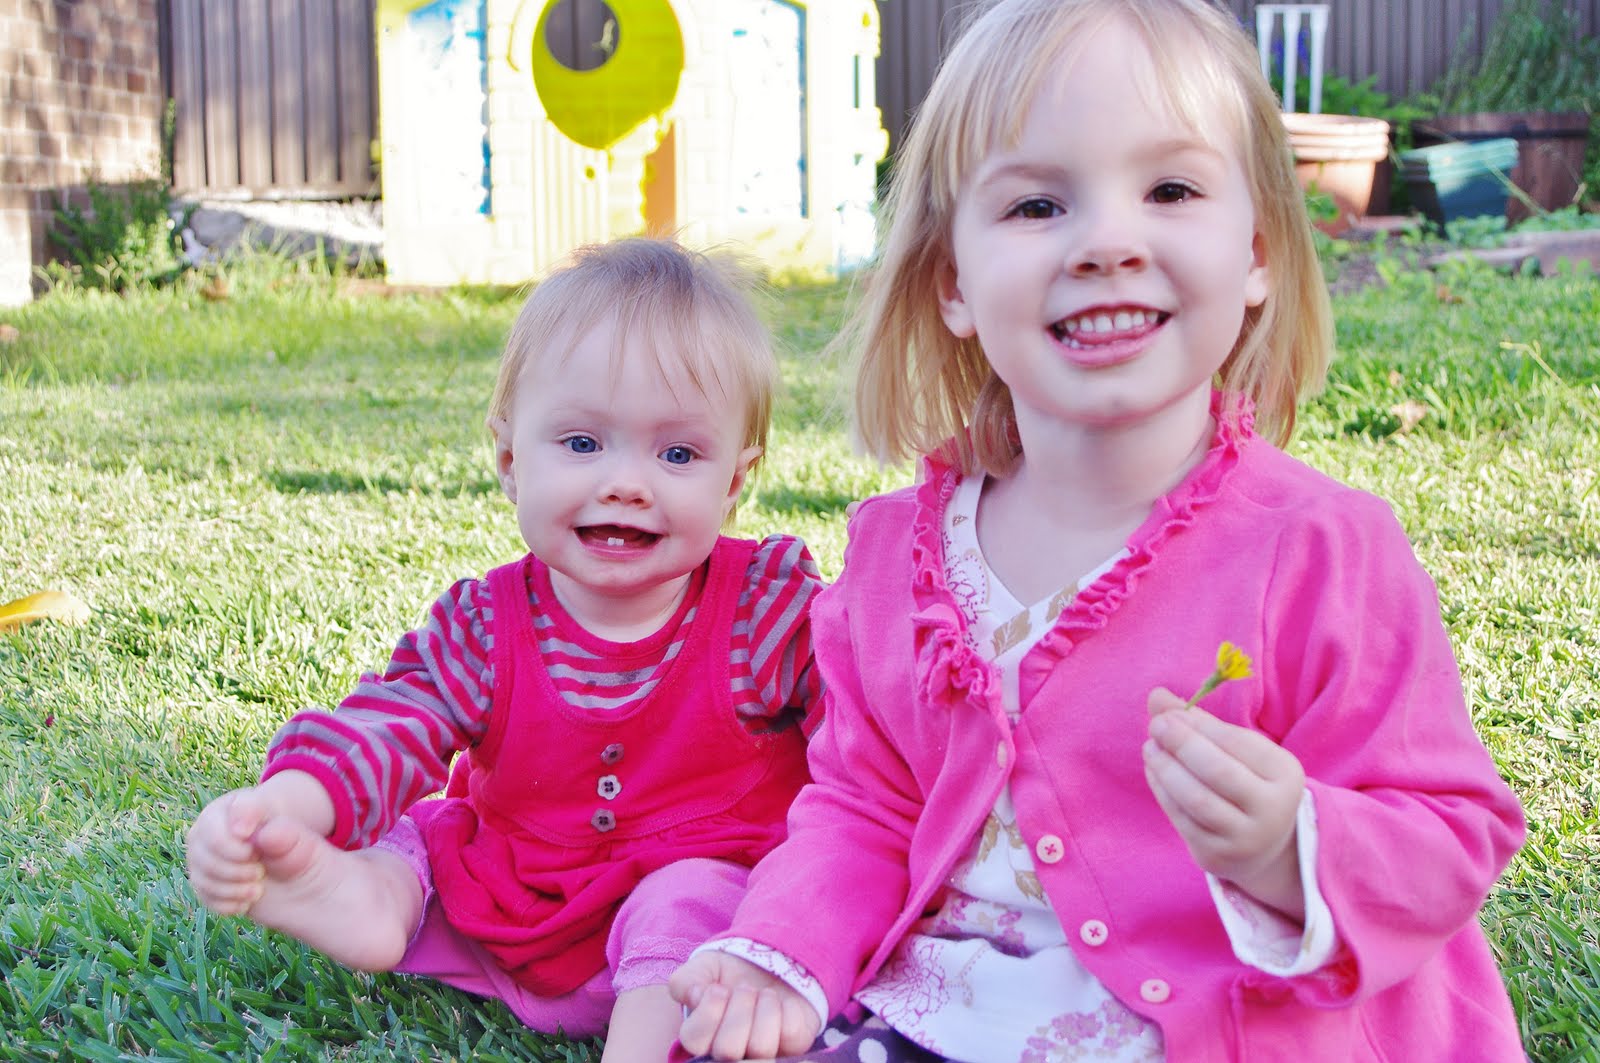
Ellie didn't dress for the occasion but was beautiful as always.